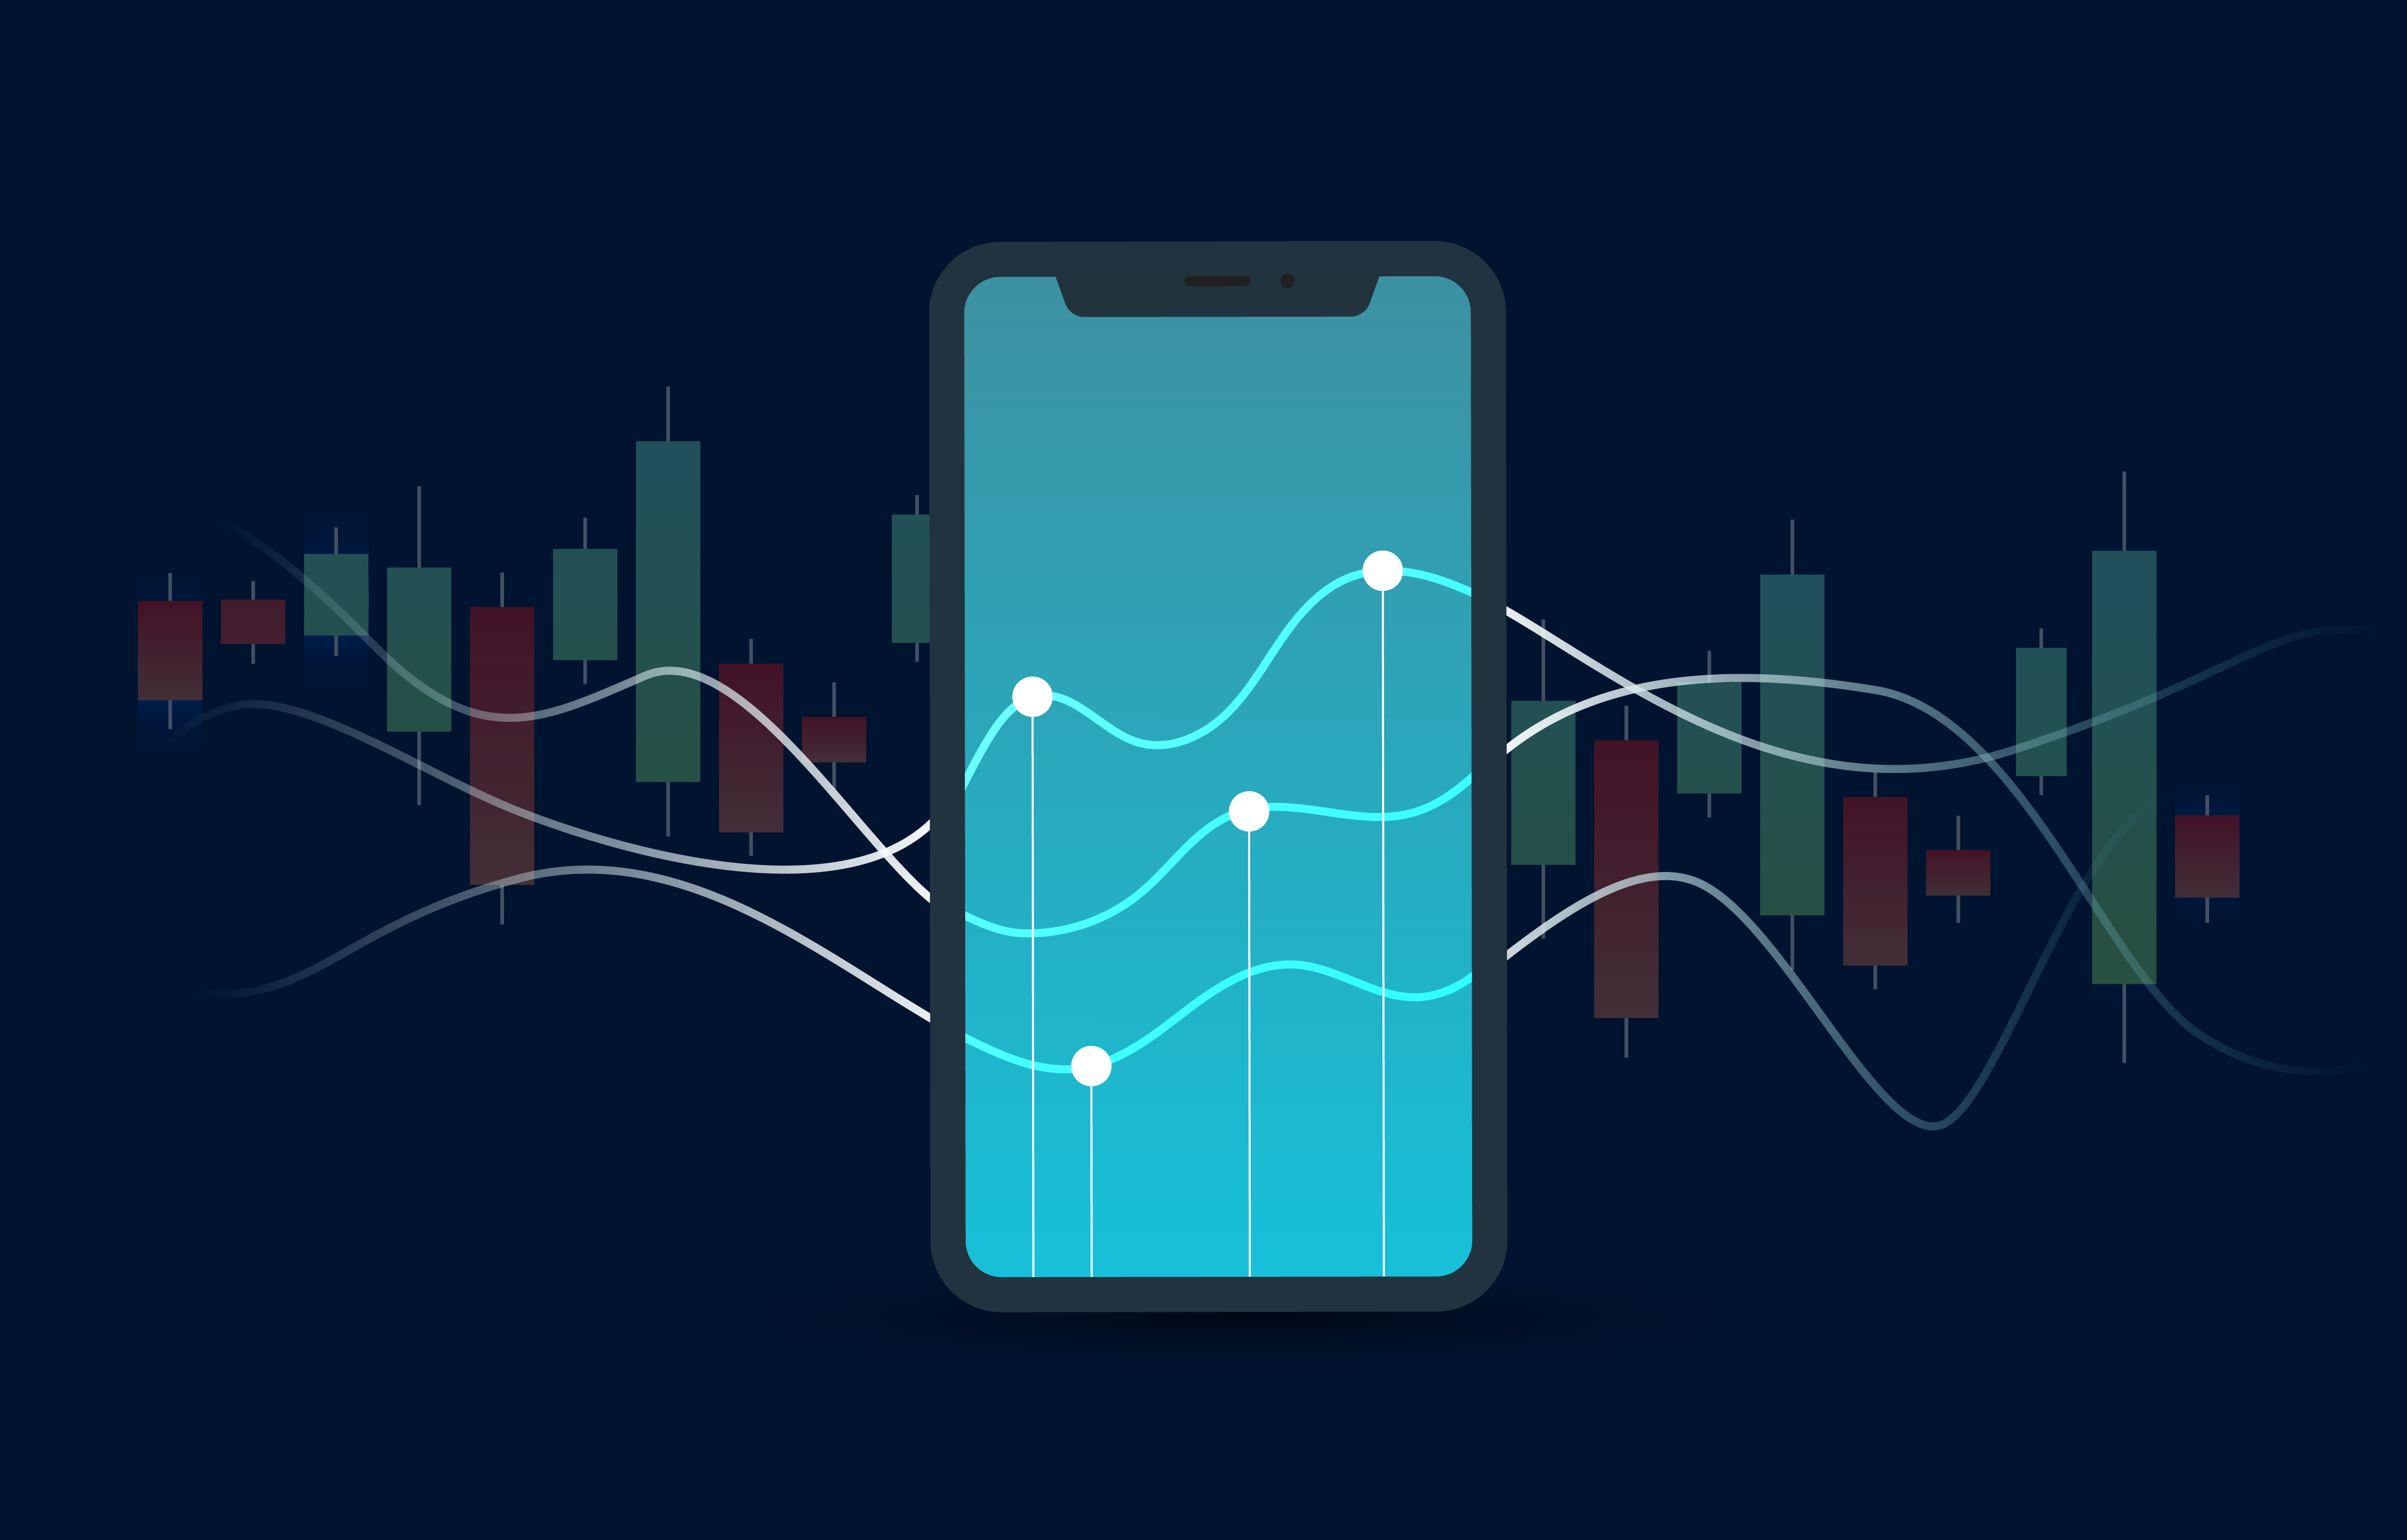
Bonding Curves - The What, Why, and Shapes Behind It


Bonding curves have been one of the hottest buzzwords in the DeFi space, but rarely get discussed in depth.
In this article, I'm going to discuss how bonding curves work, why they work, and the different curves behind them. While this article is mostly high-level, a basic understanding of blockchain and DeFi mechanisms are likely necessary to understand. There will also be a bit of math, but I'll keep it confined to the end - and if you have no interest in the math, it's fine to skip as it's not necessary to understand the premise.
At its base, bonding curves describe a clever little smart contract that enables users to mint/burn tokens according to a previously defined pricing algorithm. The benefit is that it allows developers to incentivize consumer behaviors with different pricing structures and allows tokens to create their own markets without having to rely on exchanges.
This pricing algorithm is a graphable curve that defines the relationship between the token's price and its supply - where the price of the token increases with it's supply.

Figure A: A simple bonding curve graph driven by the quadratic formula currentPrice = tokenSupply². In this model, the price of the token moves exponentially in relation to the current token supply.
Typical flow of a bonding curve interaction:
- A smart contract is created that allows users to mint/buy a new token (eg. Bonding Curve Token, BCT) with a specified reserve currency (let's say DAI).
- The price of BCT is algorithmically calculated in relation to its current circulating supply and shown in its reserve currency, DAI.
- With the reserve currency, the user can buy the new BCT token through a smart contract. The sold DAI is kept in the smart contract as collateral and not dispersed to any person or team.
- After the user completes their purchase, the price of the token will move along the bonding curve in relation to the amount of supply the user has just minted (likely moving the price up for future buyers)
- At any point, a BCT holder can decide to burn/sell their token back to the curve. If the price continues to go up after their initial purchase, the user will likely sell at a profit (minus gas and fees). The user will receive back the bonded DAI from the smart contract after their sell is approved.
Key features and benefits of bonding curves:
- Limitless Supply - There is no limit to the number of tokens that can be minted.
- Deterministic Price Calculation - The price of the tokens increases and decreases according to the number of tokens minted.
- Continuous Price - The price of token n is less than token n+1 and more than token n-1.
- Immediate Liquidity - Tokens can be bought or sold instantaneously at any time.
Bonding Curve Origins and Usage
The idea behind bonding curves was born independently in a couple of different corners of the crypto space and operated under multiple names for the first few months of its existence:
Smart Tokens according to Bancor
Curation Markets in Simon De La Rouviere's circles
Bonding Curves as coined by the Zap Protocol.
Today they are broadly referred to as bonding curves and are most popularly used towards Automated Market Makers (AMM), ICOs](https://www.linumlabs.com/articles/tokenomics-guide), continuous organizations, and continuous token-curated registries.
Bancor's Smart Tokens
Bancor's approach was to use them as AMMs to help bootstrap low-liquidity markets and order-books.
They reasoned that new tokens launching to the market struggled to attract enough market participants to reach a liquid, healthy exchange of value (having buyers ready to match sellers and vice-versa). This creates a huge barrier for token trading and is essentially a chicken and egg problem for new tokens. Using bonding curves, users can buy or sell tokens through the bonding curve, even when there are only a few or no other buyers or sellers in the market.
Bonding Curves and Curation Markets
Bonding curves can also be used in curation markets as popularized by Simon De La Rouviere.
In this model, these bonding curve tokens are used to create a staking and reputation system for content curation. Users in these curation markets stake their tokens to promote the content they think is valuable. As the quality of their curations grows, it will likely attract more users to buy the token and vote on more valuable content.
This structure incentivizes holders to only promote valuable content that pushes the curation market value, and inherently the token's value, up. In this model, the sell curve is typically lower than the buy curve, incentivizing participants to stick around and help their community grow before they claim their rewards.
Most of this article will approach bonding curves from the POV of token-economic incentivization and AMM's for new projects and investments.
Only to promote
While creating an algorithm that has price automatically go up with supply may sound like a pyramid scheme, users must remember price only goes up if the demand(supply) actually goes up. If users sell/burn their tokens the token will come back down just as fast.
The most successful bonding curves (minus a few crazes here and there, it is DeFI after all), are either tied to legitimate projects or have an underlying utility (ie. refungible NFTs). In an ideal world, price movement should be related to actual feedback and value creation on a project's end. If a project has a strong foundation and promise, this should attract more buyers ultimately driving the price up the curve. The easier it is to derive a real-world value for the project, the easier it is to derive a real token value - creating a crypto-economic feedback loop necessary for a sustainable system.
Tokens not backed by any real-world project have no way to define an actual correlated value - leaving them highly susceptible to all forms of pump-and-dump schemes. This is the ultimate difference in price volatility between a legitimate project and the next DeFi craze supporting a meme.
Other implementations developers can use to protect their tokens from pump-n-dump schemes:
Buy/sell taxes
Separate buy/sell curves
Time-locks
Disabling token sales altogether (only relevant for certain cases)
These will not be covered in this article; however, even with these protections, the idea of tying these tokens to legitimate projects still stands.
Curve Shapes
Just how the markets respond to a bonding curve will be up to not only the project behind it, it's marketing, and it's messaging - but also its MATH. While the math of bonding curves is often glossed over, the specifics of any curve will have a significant impact on both the incentivization for its investors as well as the ultimate scalability of the token.
What to consider when designing for a bonding curve:
- Investors who bond to a bonding curve expect to make a good return
- Investors should typically be rewarded higher than late adopters
- Any opportunity for price manipulation and abuse WILL be taken advantage of*.* Because of arbitrage, the bonding curve will always be the oracle of truth.
- The growth of a token's underlying project is likely to follow an S-curve (more on this soon) where growth accelerates quickly and then decelerates as a project reaches maturity and stability.
- Expect tokens to scale up at least 5-10x from their inception
- There is an expected/estimated amount of capital developers can reasonably expect to attract across a token's lifetime (think in the millions for bigger projects). Returns should remain logical across that range.
There are a variety of approaches one can take when designing a bonding curve, but for the sake of this introductory blog, I'll keep it simple. I'll explore some of the most popular designs for bonding curves including linear, polynomial, sub-linear, S-curve, and piecewise.
Additionally, this article will only cover single bonding curves where the buy and sell prices are always equal along the same curve. It is likely that at a later date I will dive a bit deeper into two curve models.
Linear Curves
First, we'll start with linear curves (if you can even call it a curve).
Linear curves maintain the same slope throughout, increasing steadily with each new token minted (except for the case of completely horizontal curves).

Figure B: price = 5, price=tokenSupply, and price=2*tokenSupply respectively. While all three are linear, the first is fixed at the price of 5, and the third curve increases the price at double the rate of the second.
The base for any linear curve is:

Or in this case:
Where m describes the slope and be is the price of tokenSupply = 0
In this model, the price growth of the tokens stays steady according to m. If m=0, the graph is completely horizontal like in Figure B, and the price of the token is independent from the supply. This horizontal linear model is appropriate for stable or pegged tokens.
While this stable-growth model typically works fine for smaller projects they are often not appropriate for large-scale projects as they don't allow enough control and incentivization.
Polynomial Curves
Polynomial curves often get some of the most attention in the space, however, I believe this is misguided.
The core behaviors around these curves are that they grow very slowly in the beginning, gain acceleration as they progress, and speed up to very aggressive rates.


The base for any polynomial curve is:

The larger the variables a and n are the more aggressive the growth will be.
The issue with polynomial growth is that it is nearly directly the opposite behavior you'd expect from a project.
Typically projects should start off with strong growth, expanding quickly until they find their fit, and slow down into a more stable level of maturity. Reflecting this is important in the token model as the idea is to entice and reward earlier investors who take the risk on a project. Polynomial curves do just the opposite, staying rather steady for the first 80% of the curve and suddenly accelerating to completely unsustainable levels. This would not only highly disincentivize early investors, but also create a completely unsustainable token upon scaling to maturity.
Sub-linear Curves
This brings us to an exact opposite curve style - sub-linear curves.
These curves, which can be accomplished using logarithms and root based functions reflect a more conservative approach to growth. Logarithmic curves rise very quickly in their nascency, slowly decelerate their rate, and then eventually stable out.
This curve immediately rewards early investors who take the risk on a project.


This style of curve can be achieved using either a logarithmic formula or a polynomial formula with an n value under 1.
This can be represented by the base formulas:

Some careful math can also dictate the growth rate as well as the price ceiling where the price settles out upon reaching maturity.
S-Curve
Named after the letter they resemble, S-curves are one of the most appropriate curves for projects.
They move slowly in the beginning mirroring the time it takes a project to find its footing, grow aggressively in the middle similar to the growth phase in a project, and eventually settles out again once it reaches a certain level of maturity.


This model can attract early, potentially large, investors to claim a stake while the price is low and movement is stable (therefore less slippage).
Once the project has received a certain predetermined threshold of funding, the price grows rapidly attracting attention and more investors in the growth phase. Once the ceiling is reached, the price can then steady out. This format allows curve designers to set the supply needed before major growth begins, how aggressive that growth is, and at what point it steadies out again.
The formula for a basic S-curve (also referred to as a Sigmoid Curve) in this context is:

Here c1 dictates how aggressively the curve accelerates in the growth phase, and c2 determines the inflection point of the curve (middle of the growth phase, where growth begins to decelerate).
Piecewise Curves
Lastly, piecing all these curve styles together, you get the appropriately named, piecewise curve.
This curve is defined by multiple sub curves that apply to different token intervals. While clearly the most complex, this style gives the projects the most control over the token's growth in specific ranges, as it can be built with linear, polynomial, and logarithmic functions all at different areas.

Figure F: This piecewise curve is defined by a linear equation from x=0 to x=5, a polynomial curve from x=5 to x=10__, and a horizontal linear function x = 10.
This curve style does not have its own base formula and is instead composed of the other styles in different areas.
Curve Consideration
One important consideration when deciding between models is that these curves are based on total token supply, not users or investors.
Because price increases with supply, the number of users does not increase proportionally as the later tokens are more expensive than initial tokens. Because of this, as the price increases, token growth will naturally slow as well. This isn't a huge problem, but important to remember.
Calculating Price
I moved the calculus in this article to the end to try and retain 80% of my readers. If you're willing to give this next part a shot, come along. If you have no interest, please feel free to skip ahead after this paragraph.
This next section will be used to understand the process behind finding the actual price of each token purchase/sell. I will walk through the process of integrating over a simple curve and finding the price of 10 tokens at different points along the curve. If calculus isn't your thing but you'd still like to follow along, Wolfram Alpha is a great tool for solving math problems and integrations. If you're still not interested, I promise it's not vital to understand the core concept and you can skip ahead to the conclusion.
I'd also like to point out I will be walking through the theory of the math here and not the actual implementation of it. There are extra steps developers need to consider when building bonding curves in Solidity such as fixed-point mathematics. Solidity cannot handle decimal places, and all numbers must be represented as fixed points in the development. For the sake of this article and simplicity, I will not be addressing these issues. However, when put into development they must be considered.
Buy and Sell Price
Finding the price of any buy or sell on the curve is NOT as easy as just multiplying the current price by the number of tokens a user wants.
Because the price moves continuously, each incremental increase in the supply will increase the price of the token (slippage). Obviously, it would be a waste of effort and gas to try and split the buys up into many small pieces, so we'll call on a bit more math to help out! Referring back to our original polynomial graph (while not my favorite, it is the easiest to convey the message on), we can see the price at any point based on the current supply.

If you remember in Calculus, if you take the integral of any equation, you can find the area underneath its curve. On a bonding curve, this area represents the poolBalance, or the amount of the reserve currency (again, let's say DAI) that has been bonded to the curve to mint new tokens.
Taking the integral of price to find the poolBalance:

Using this equation, you can now calculate the poolBalance based on the current tokenSupply.
To find the total price of the next set of tokens, you just need to go one step farther by integrating from the current supply to the final supply after a successful purchase (subtracting the initial poolBalance from the final one). For the sake of this example, we'll imagine the user wants to buy 10 tokens.
This would make the equation:
priceForTokens = poolBalance(tokenSupply + 10) - poolBalance(tokenSupply)


With this equation, you can now calculate the price of 10 tokens at any given moment on the curve.
An Example
To show how this price increases so aggressively, let's imagine a user close to the project, say Alice, decides to buy when only 2 other tokens have been minted. This would make tokenSupply =2.
The current price of the token would be listed as:

Solving for the price of 10 tokens at this supply:

The price for these 10 tokens is 573.33 DAI or 57.333 DAI per token. While this may seem incorrect, you must remember that even though the price before she purchased was 4 DAI, the price of her last token (12th token), was closer to 144 DAI as shown by the equation below.
Averaged out, this created a very large slippage for the token purchase.

Now, imagine Bill comes to buy after Alice just bought her 10. Now, he is buying when tokenSupply =12.
Solving for this in the same way:

This price for 10 tokens is 2973.33 DAI or 297.33 DAI per token. This is over 5x higher than the price Alice paid even though he realistically bought right after her.
Now extrapolating a couple of purchases later, imagine someone comes in when the tokenSupply =100

This is now a nearly 20x increase from Alice's initial purchase price - just imagine the 1000th minted token. While this model may work for some tokens, designers need to be very considerate when developing their curve to make sure their curve does in fact meet the needs they have set out to accomplish in the appropriate range. Every price growth will influence new buyers as much as they convince old buyers to sell, leave, and claim their gains.
At the end of the day, a bonding curve is only as good or as bad as its math.
Conclusion
Bonding curves are powerful tools that should be a consideration in every new blockchain project's roadmap. They're simply the smarter way to launch tokens and put the power of smart contracts into trading. When done right, they can be just as important in the long-run as the very project they back. In this article, I've covered a high-level and wide range of some of the core concepts behind bonding curves. In the future, I'll likely be diving deeper into some of the covered aspects - I'm always taking topic requests as well.
If you'd like to go further down this rabbit hole, please do not hesitate to reach out to us.
Linum Labs is an industry leader for bonding curve creation and has created dozens of them over the past couple of years for clients. If you have any questions or are interested in launching a bonding curve of your own for your next project, book a free consult here.
Trust me, we're nerds on this and are just as happy geeking out on its designs as we are about building one.
Credits
Thank you to our friend, Dimitri De Jonghe from keyko.io for his invaluable feedback.
Sources
%20(1).jpg)
.jpg)